TraumaRL
| TraumaRL | |
|---|---|
| Developer | flend, ShroomArts |
| Theme | scifi |
| Influences | DoomRL, System Shock |
| Status | released |
| Released | 16th March 2014 |
| Updated | v1.11 14th May 2014 |
| Licensing | Free to download |
| P. Language | C#, (with libtcod) |
| Platforms | Windows |
| Interface | ASCII |
| Game Length | 2 hours |
| Official site of TraumaRL | |
TraumaRL is a 7DRL written for the 7DRL Contest 2014 by flend with art by ShroomArts. The game is a survival shooter set in a space station where something has gone terribly wrong. It uses graph-based level and quest generation to provide a semi-procedural plot and quest structure which differs in some aspects each play. It is the direct successor to FlatlineRL and continues the plot from that game.
Story
Darkness. Then light. One minute you were piloting a R.E.E.D. - finest goddamn remote-controlled drone in the galaxy and the next you were lying on your back, brain-fried and being rushed into the trauma centre.
Something about total neural feedback and semi-partial brain-disintegration. All it means to you is sick leave for 6 months, but spending all that unconscious in a healing coma.
Apparently the docs have installed something in your head (probably where the brain cells used to be). Military grade, so might come in handy.
Surely there ought to be some nurses around, or someone. Hang on, OK this is a trauma centre, but there isn't meant to be that much blood around. Something is 'up'.
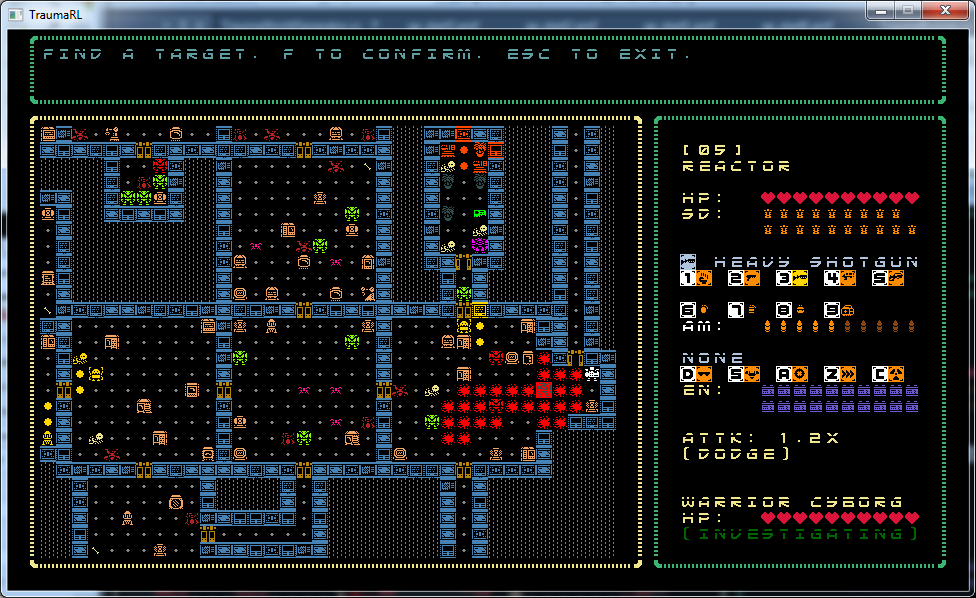
Features
- 10 interlinked station levels which are arranged in a tree-like structure (i.e. one level may link to multiple branches). The tree structure changes each play.
- A main quest whereby the objectives and items will move each play but is guaranteed to be solvable.
- Locked doors which require key cards that may be found on other levels.
- Procedurally-generated message logs providing clues about the quest objective which can be guaranteed to be found before that objective is complete.
- Multiple weapon types and upgrades
- Wetware system that boosts characteristics for a limited time
- Cover and movement-based effects on gunplay
- If graphviz is installed, the game will produce graphical-representations of the level and quest graphs
Development
The game was developed from the FlatlineRL source and independently-developed template-based map generator and graph analysis packages. The 7 days were spent integrating the (generic) graph engine with the roguelike engine and then implementing a novel game on top (the first application of the graph engine in a game).
flend was responsible for coding and game design. ShroomArts provided a novel 1-bit sci-fi tileset and assisted with playtesting and feedback.
Downloads
Screenshot